In the last article i showed you how to setup you movie collection in Kodi, this article is about the setup of series.
Since series are segmented in several seasons and episodes, the setup differs from the setup of films. That’s why i wrote this separate article.
Enough said, let‘s get started.
1. Prepare your video files properly
To make Kodi able to recognize your series and automatically download information and graphics for them, they have to be organized in a certain way.
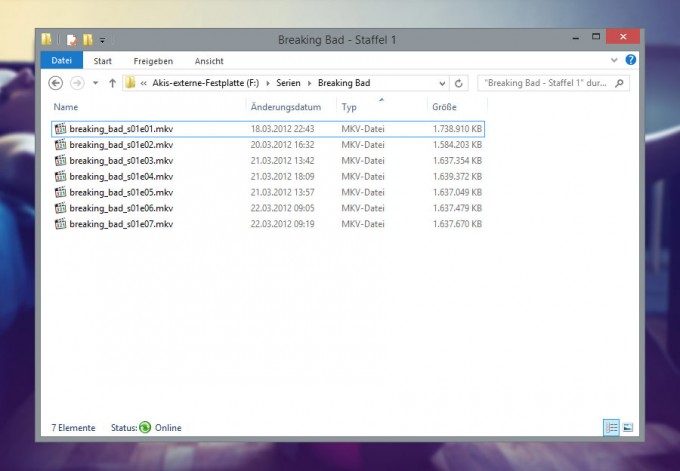
The folder wich contains the video files has to be named after the series. So I have a folder named „Series“ on my hard drive / NAS and in it there is a folder named e.g. „Breaking Bad „, which contains all of your video files of the series.
Now comes the vital part!!! Filenames must contain following information e.g. (S01e01). Therefore a video file from first season , first episode from Breaking Bad should look like e.g. : breaking_bad_s01e01.mkv, the second episode has to be breaking_bad_s01e02.mkv and so on. Kodi recognizes the series Breaking Bad using the folder name and based on the information in the filename s01e02 it will download information for Season 1 Epsidode 2.
Your series data should be structured as follows:
To bring some order into it, you can put your files into subfolders , called “Season 1, Season 2 .. etc. ” . It doesn’t state a problem since Kodi also scans subfolders for valid video files. 🙂
2. Make certain settings in Kodi
When all video files have been labeled correctly, you can instruct Kodi to obtain series informations.
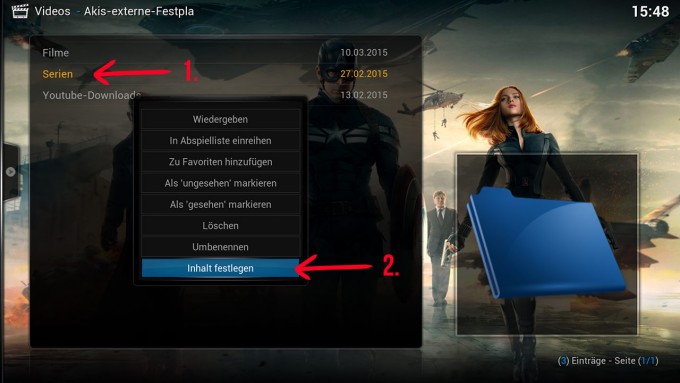
To do so, you move to the folder where all the video files are located. With the folder highlighted, you open the context menu (key c on keyboard) and choose ” Set content”
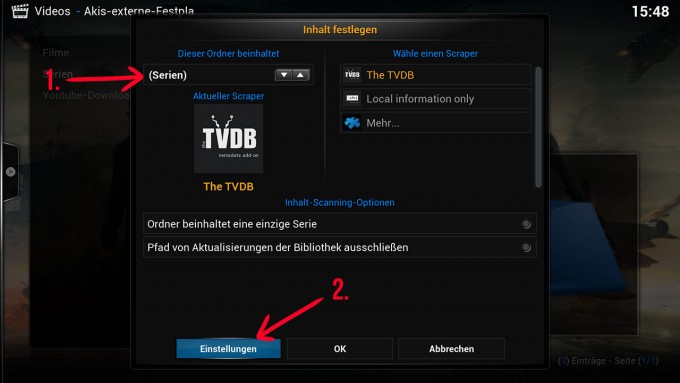
A dialogue opens up. Choose “Series” at the top left corner (1.) and leave all remaining options as they are. Next you go to “Settings (2.)”.
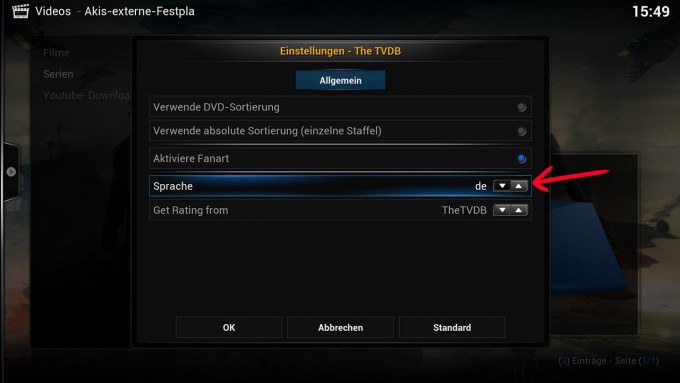
Here you can set several options, also, if needed , here you can set the language and select the source which Kodi uses to collect informations.
After all is set, proceed by clicking on OK and on the previous menu OK again.
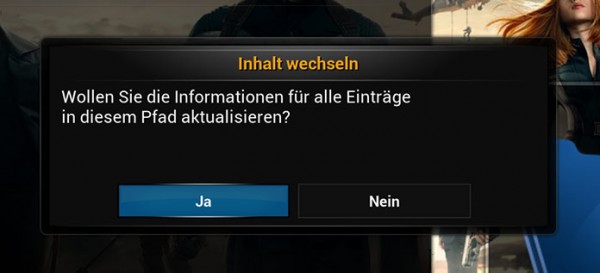
Next you will be asked if you want to update all informations in this path. We want that, so of course confirm with “Yes“.
Now the scanning process should start. According to the size of your series collection it can take a bit till Kodi finishes this process. So lean back and let Kodi do it’s work for you.
You can see the progress at the top right corner.
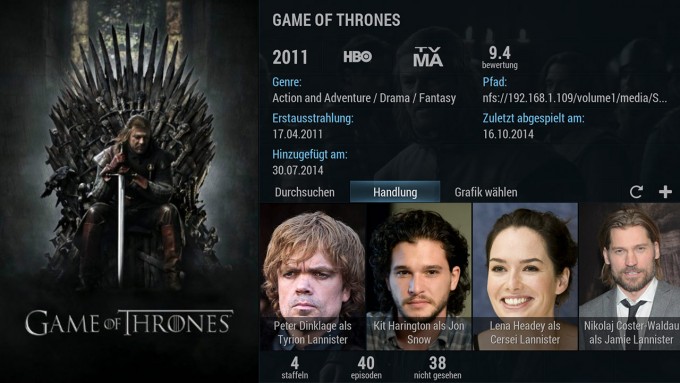
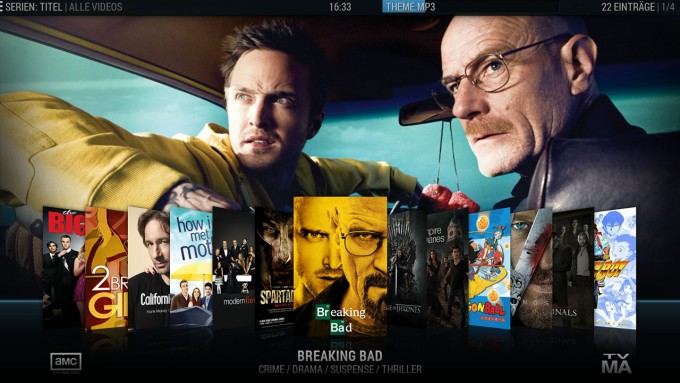
After all finished , you should see the entry “Series” in the main menu. Now you will find all your series with assignes covers, wallpapers and information texts.
Now it’s even more fun to browse through your series collections, right? 🙂
What can I do if new episodes need to be added?
Your series collection will grow over time and probably new content will be added.
No problem! In this case you only need to update your library.
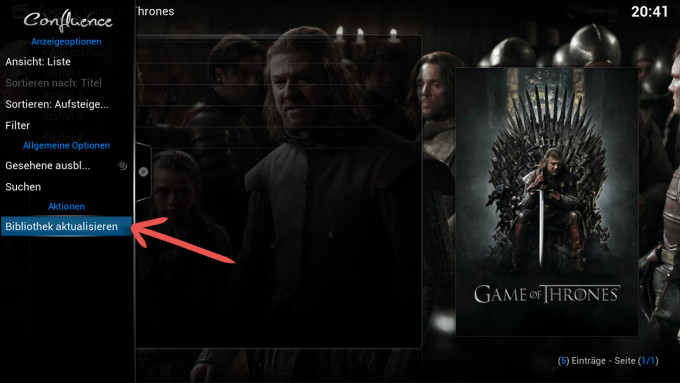
You can find this option in the side menu while you have opened your movie or series. To open the side menu, just press “Up” on your remote control. Then select “Update library”, wait a moment for it to complete.
Here you can see some screenshots of the finished results. Because some people asked , the skin which was used here is “Aeon Nox”.
Because the setup for movies differs from series setup, i wrote another article for you:
How to setup your movie collection properly using kodi
If you have any questions or problems, I like helping you guys out in the comments.


