
Turn your hifi equipment into a modern music streaming platform, which meets highest demands in comfort and quality!
Thanks to the use of the HifiBerry soundcard you’ll achieve an incredible sound quality using your Raspberry Pi 2. (192kHz / 24bit)
In this howto I didn’t use a high grade hifi system, but yet I could recognize new sound patterns compared to operation without the sound module. The sound gets far clearer and more dynamic than before. I assume that you could get even better results using speakers of higher vakue.
I guess it’s nothing new that the HifiBerry sound module provides brilliant sound quality, some of you already confirmed it earlier, which made me curious about it. So I decided to try it out by myself. 🙂
Even the german c’t magazine was convinced of the sound card:
If you own a good stereo or powered speakers, a board as the HiFiBerry DAC is definitely worth the money.
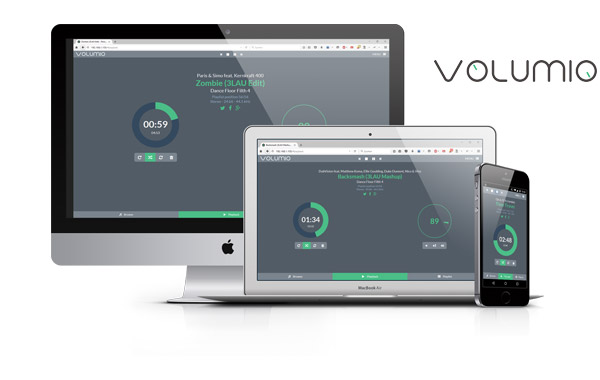
In software I used the popular open source project Volumio, which offers unlimited possibilities to enjoy your music. Additionally it’s still gets updated, has a big community and Volumio 2 is on the starting blocks already.
By using Volumio you’ll be able to use Airplay, Spotify and internet radio, network streamed and local music playback is possible .
You can even stream Youtube Videos to the hifi player, so that it will play the sound of it.
A feature I don’t ever want to miss anymore! 😀
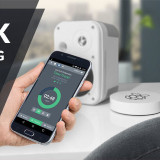
You can control it with help of the web interface, which can be accessed from any network device (smartphone, tablet, PC …).
Volumio is also compatible to many apps, so you can always control your music using many different devices.
 Following parts are included in this howto:
- What is required?
- Installing Volumio
- Setting up Volumio
- Using Volumio
- Important wifi advice – turn off sleep mode
Lets start! 😀
What is required?
For the pure operation of the audio player you won’t need many components. If you just want to test everything before you buy better audio eqipment, you can just continue and connect your speakers directly to the audio jack input of your Raspberry Pi without the HifiBerry sound module.
Here’s my shopping list + optional accessories.

| Hardware | Recommendation |
|---|---|
| Raspberry Pi 2 | US UK |
| HifiBerry DAC+ sound card | US UK |
| power supply (5V, 2A) | US UK |
| Micro SD-Card | US UK |
| Wifi -Dongle or wired connection | US UK |
| [Optional] RCA cable | US UK |
| [Optional] Case | to overview |
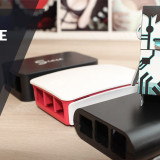
Hifiberry sound card
If you live in Europe, to avoid long shipping time and custom duties (7,01€), I recommend to buy it in Germany, and not from manufacturers site.
Cheap alternative
If you want a similair quality for a cheaper price, the PiFi DAC+ sound card from china could be a good solution. It uses the same DAC chipset as the Hifiberry card. I ordered it for testing purposes, I will report on it then. Thanks to Tobi from the comment section. 🙂
PiFi DAC+ Soundkarte for 18,39 €
Case
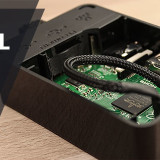
In this project the casing part gets a little tricky, since most cases don’t fit anymore when the sound module is plugged on the Raspberry Pi. This is because of the RCA jacks, which make the raspberry too high for most cases.
So either you yuy yourself a fitted Hifiberry case or you desolder the RCA jacks and solder the audio cables directly onto the contacts. Doing so, you are able to use every normal case.
I did this, so I could use my Raspberry Pi 2 together with the Orbital-Case 🙂


You can also solder the RCA jacks at a random position in the cas using such RCA jacks.
Just in case if you don’t want to solder directly onto the board.
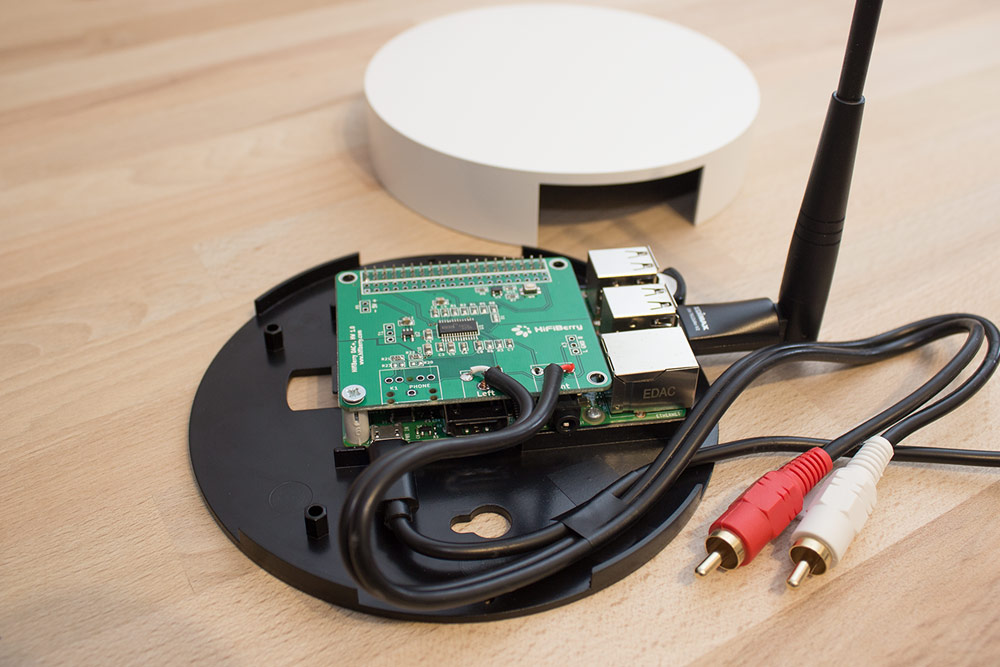
Nice2know: On the photos you can see a small 64GB USB flash drive next to the wifi adapter. I use it to store all my Music files.
Installing Volumio
After you put everything together, you can care about the operating system. I’ll describe the process using a Windows machine. Mac users can find a howto here:
Get started (scroll down a bit)
1. Downloading Volumio image
Download the Volumio image file for the Raspberry Pi and unzip the .zip file.
2. Write Volumio image on SD-Card
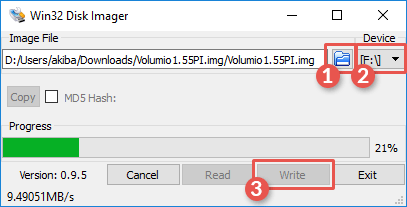
To write the image onto the SD-Card, you can use the program “Win32 Disk Imager”. DOwnload this little tool here and install it:
Start the program and select the Volumio image file. Make sure that the drive letter of your sd card is selected. If anything is correct, click on Write and wait till the image is written onto the SD-Card.
After successful write you remove the SD-card safely and put it into the Pi.
Setting up Volumio
For initial setup aconnection via Lan cable is required to set it up for Wifi.
Boot your Raspberry Pi and give it some time to boot up. To access the web interface, just enter volumio.local/ into your web browser. Also, you can use the ip address if you already know it.
1. Activate Hifiberry sound module
At menu pointMenü > System you select “Hifiberry +” and save settings with “Apply”. Done, your Hifiberry sound card will be used as default audio device at next startup.

2. Setting up Wifi
To disconnect the cable connection later , you need to set up the wifi connection first.
At menu point > Network you enter the network details and confirm it with “Save changes”. After a short moment wifi connection should be established.
That’s how a successfull connection should look like. Here you can also see the IP address.

Now restart your Pi without cable connection and check if you can connect to it using the wifi connection.
Using Volumio
Add and play music
You can now either connect am USB flash drive or hard drive containing music to your Pi directly or define a network path to your files to access them.
You can find these setting at menu point Library.
After you set up a drive or network path, just press the big green button “Update Library” – Now all music files get scanned and loaded into the library.

You can find the scanned and loaded music files at menu point Browse , as you can see in the screenshot below:
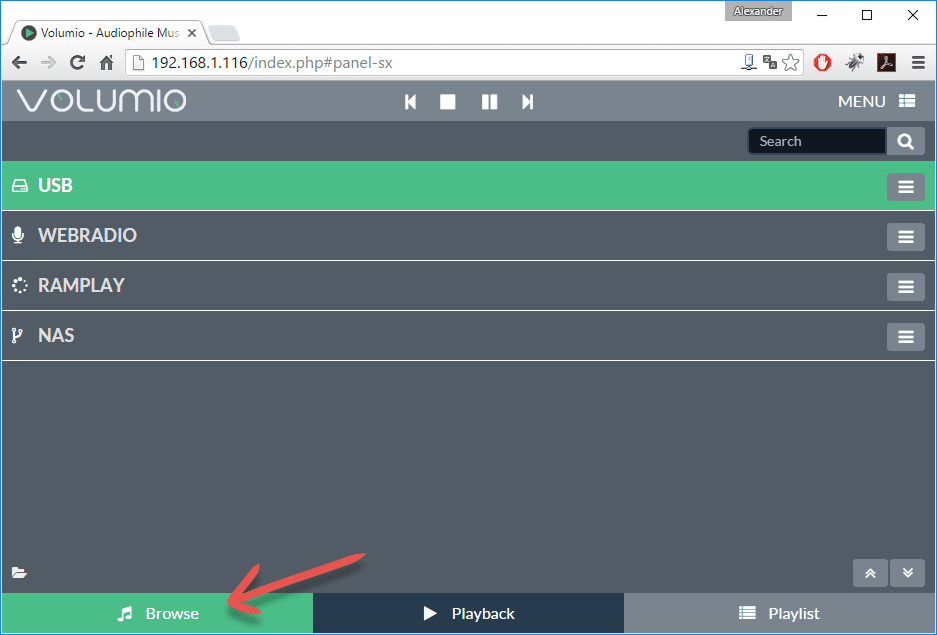
To play your files, you just need to send them to your playlist, as seen on the screenshot. You can do it for single files, or for whole folders.

Streaming music to Volumio
Apple users can directly send their music to the Raspberry using Airplay.
For Android users I recommend the “Bubble UPnP” App. With this App you can stram your local music files, music from yloud storage (Dropboy, Google Drive etc.) and even youtube videos to volumio.
Google Play Store: Bubble UPnP
After startup of the app you need to set Volumio as the output device (render device). The app should find Volumio automatically in your network, so you just need to select it.

After Volumio was selected as the output device, you can access your local or cloud storage for music files and send them directly to Volumio.
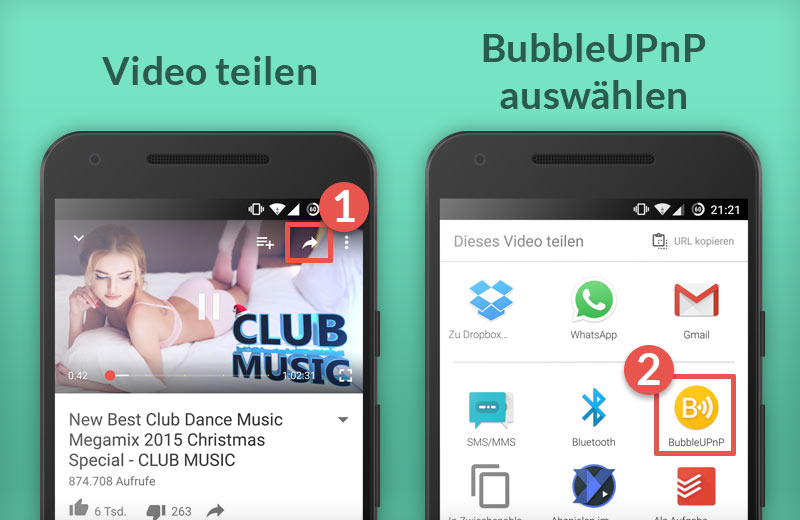
To stream a Youtube video, just open the Youtube App , select a video and send it to Bubble-UPnP using the “Share” function.
And by now the music stream of the youtube videowill be played by Volumio. 🙂
This works with a lot of other Apps like Soundcloud, even with crome browser (tested with youtube.de). You just share the song with Bubble UPnP and it gets streamed and played with the Raspberry Pi.
I assume it works with everything which has an audio stream. I could stream everything with BubbleUpnP to Volumio. 🙂
Info: The free version of UPnP is limited in it’s functions. Unfortunately you can only use the Youtube stream function 3 times. If you like the App, the 3,99€ to have all functions is totally worth it in my opinion.
Adding new music files over the network
Once your USB drive was recognized, you can move your music from network to your flash drive directly.
Therfor open a new explorer window and enter following into the address bar: \\volumio.local\ or the IP address e.g. \\192.168.1.116\ and by now you can see the shared folders to add your music to.

Also, you can add new radio stations here. Just look inta pls file and you will see how it needs to look like for Volumino to recognize it correctly.
I prepared some popular radio stations for you here. Unpack the zip file and put the single files into the WebRadio folder of Volumio.
Download: webradio_stationen.zip
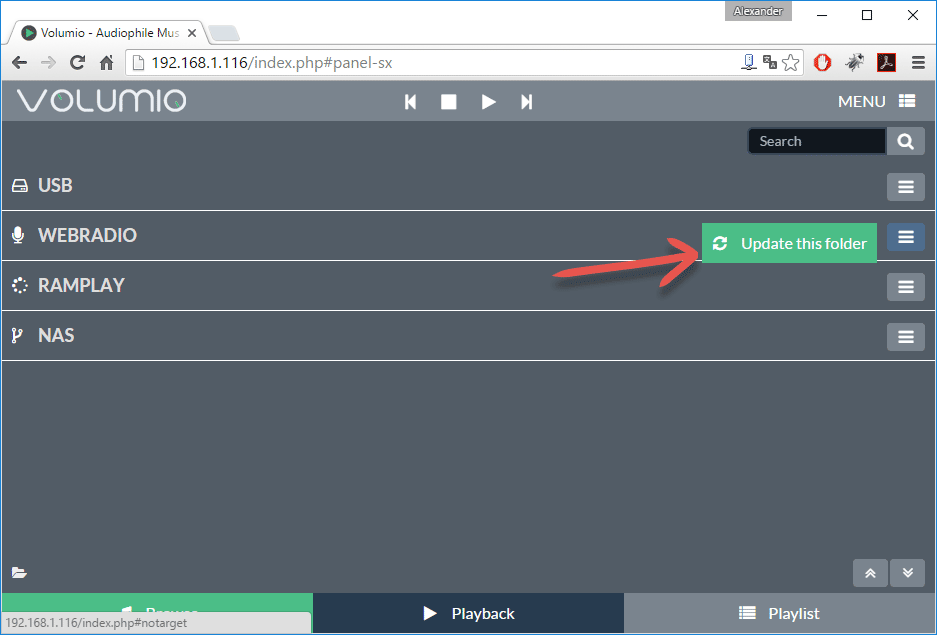
To see the new radio stations, you’ll need to update the WebRadio folder using the web interface.
Important wifi advice – turn off sleep mode
The recommended Edimax Wifi-Stick – regardless if model 7612UAn or 7811UN has the practical function, to go in sleep mode after longer period of inactivity. That makes sense if you use a keyboard and mouse, then it leaves the sleep mode when you move the mouse. I headless mode this function is disruptive, because the pi needs some seconds to wake up when you ping it.
Luckily this problem can be solved pretty easily. 🙂
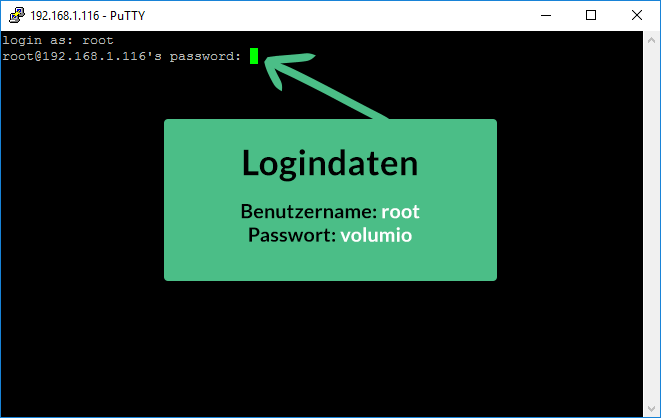
You need to create a file to deactivate this function. For that you need to connect with SSH by using the small tool Putty. You can see my howto on how to use it here.
The procedure is the same, SSH is already activated in Volumio, so you can connect without any preparation.
You can connect with this login data:
Enter this command to create a new file and open it in a text editor directly:
sudo nano /etc/modprobe.d/8192cu.conf
Enter this content into it:
# Disable power management
 options 8192cu rtw_power_mgnt=0 rtw_enusbss=0
It should look like this now:
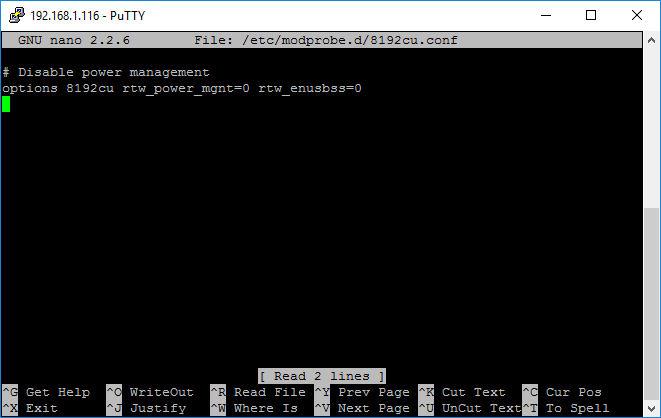
Press CTRL+O and confirm with Enter to save the file. With CTRL+X you can leave the editor again.
After a restart your wifi stick doesn’t go into sleep mode anymore. 🙂
I hope you won’t have any difficulties when reading this howto. Me personally , I’m really happy with the results. I use my Raspberry every day now for enjoying music. Everything is stable, reliable and the sound quality is great!!! 🙂