
Are you looking for a comfortable and reliable solution to control Kodi on your Raspberry Pi 2? In this Howto I’ll show you how to install a highend IR-Receiver to your Pi for using every IR remote control with ´Kodi (Openelec)
You are in control of every button on your remote control
In the past, the fact, that there are buttons on my remte control, which have no use and couldn’t be reassigned, really bugged me. I found the solution to it with this project.
With this self-built receiver everything is possible! Every button does what you want it to.
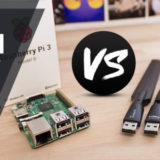
In this article I already showed you how to use your remote control with the “FLIRC USB Receiver”. But minus point is, that it’s very expensive (20-30$).
This self-built receiver provides the same funtionality, and has the advantage of not reserving an USB slot by using the GPIO Pins.
I was even noticing, that reaction time was faster and keystrokes were transfered more accurate.
What are you waiting for? Lets begin! 🙂
What is required?
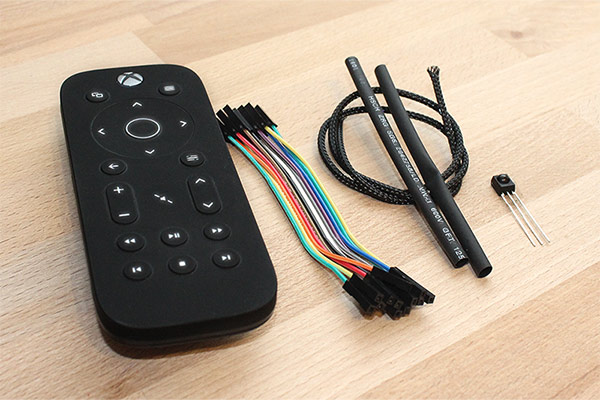
I used following components for this project:
| Component | Recommendation |
|---|---|
| IR-Receiver TSOP4838 | US UK |
| Jumper Wires | US UK |
| Xbox One Media Remote | US UK |
| [Optional] Heat shrinks | US UK |
| [Optional] Cable sleeve | Aliexpress |
The TSOP4838 IR-Receiver receives signals very precisely. It doesn’t need any visual contact, so you can hide it behind your TV. Furthermore it has a high interference resistance and is not daylight-sensitive. That means it’s perfect for this kind of this use. 🙂
In case you’re looking for a good remote, I highly recommend the
Xbox One Media Remote. I love this remote!!!
It’s very valuable and designed for multimedia use. Additionally it’s pretty handy, has illuminated buttons which only light uo when the remote is moving.
In case you lose it in when it’s dark, just move your bedsheets, you’ll find it very quickly. 🙂
The heatshrinks and cable sleeves are purely visual and have no practical use, but enhance the DIY immensely in my opinion!!
In case you don’t know what heat shrinks are, I’ll explain it quick. They’re thin rubber tubes which shrink when getting in contact with heat. So when you hold a flame against it for a short period, you can isolate cables and fix cable sleeves easily. 🙂
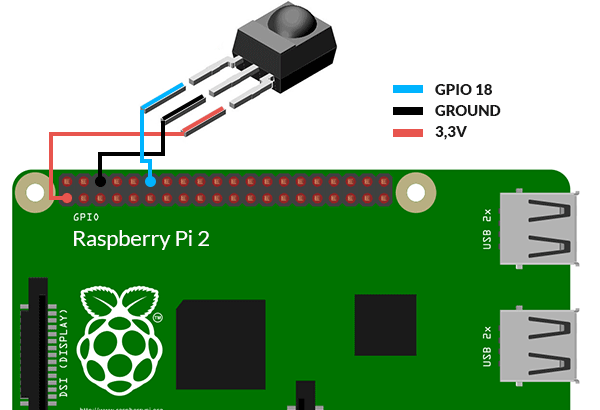
Install IR-Receiver to the Raspberry Pi 2
The receiver has to be connected to the GPIO pins as follows:
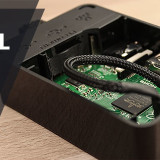
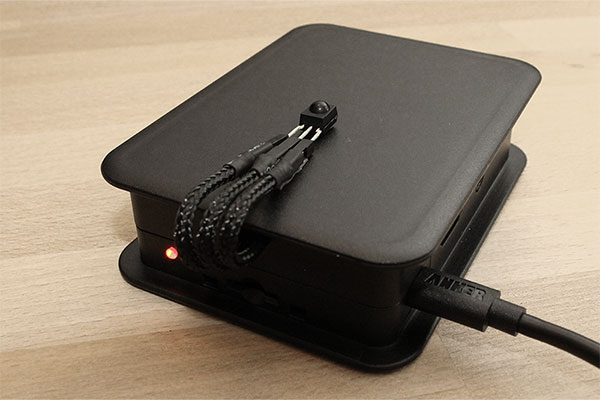
I sleeved the cables and drilled a hole into the case.
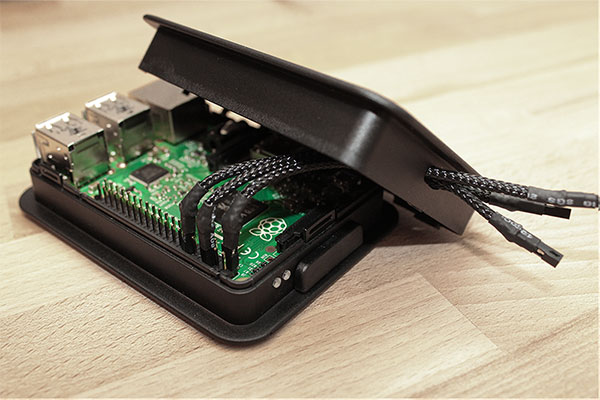
In the end I fixed the IR-receiver with double-sided adhesive tape (US/UK) on the top of the case. Of course it’s your own decision where you put the receiver. You may also place it under the screen using a longer cable to optimize the signal transfer. But as already written, it’s not necessary, since it receives all signals without any problems when placed behind the screen.
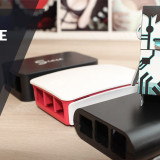
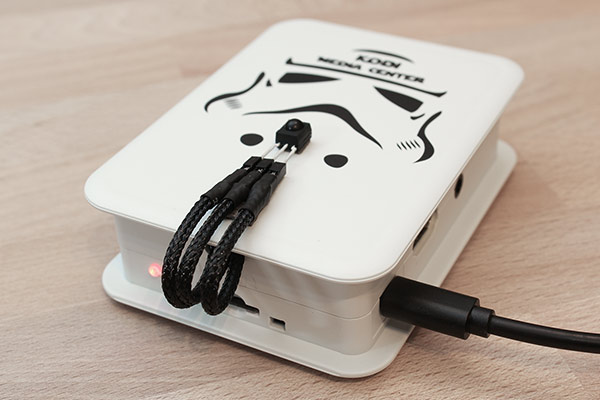
Here’s my second Raspberry which I equipped with the same receiver. In connection to the Stormtrooper design it looks really awesome in my opinion. 😀
Side notice: I cut the Stormtrooper by myself using a cutting plotter. 🙂
In case you want a foil like this, just contact me using the Contact form. For a small donation I could also create one for you if time permits.
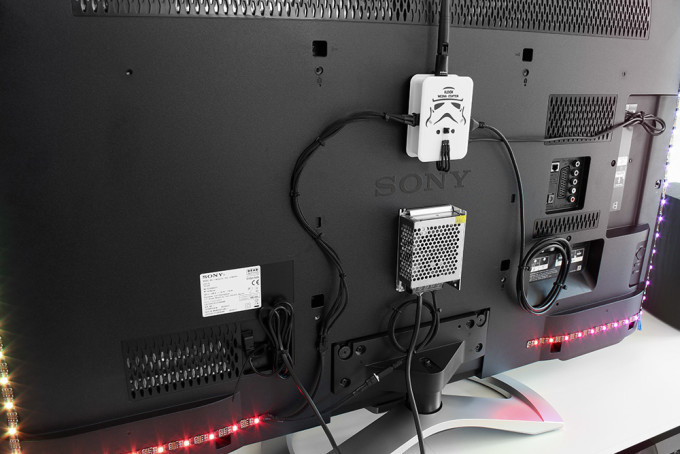
And that was it for the whole installation. You’re done.
Here’s a photo of how I fixed my Raspberry at the TV backside using Velcro tape (US/UK) The signal is perfect ! 🙂
Here it continues at Part 2: