Connecting via SSH to your Raspberry 2 – Howto
To make most system changes in the OS, it’s often necessary to connecti via SSH to your Raspberry. Easy explained, with this conection you are able to send direct commands to your raspberry.
Maybe sounds complicated for beginners, but isn’t that hard in the end. 😉
Nothing can get wrong with this illustrated Howto.
1. Chek if SSH service is already actived
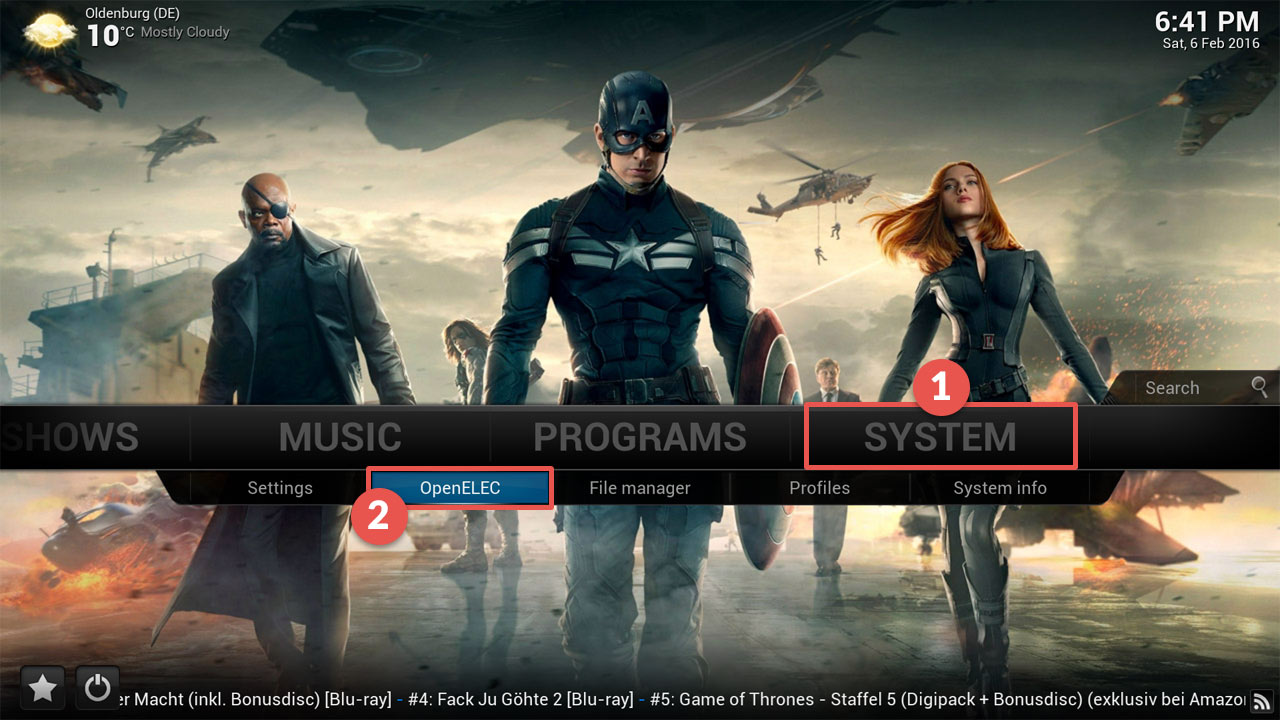
First, check if SSH service is activated in Kodi.
You can find the option here:

2. Download Putty & connect to Raspberry Pi
Download this little tool from here:
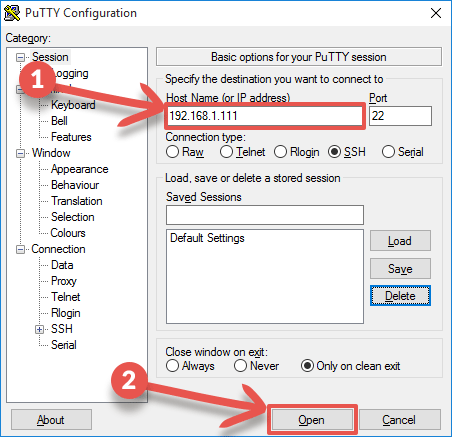
You don’t need to install it, just execute putty.exe and the fun begins.
First you have to enter the IP Address of your Pi and just click on the button “Open”.
Leave the other options as they are.
In case you don’t know your IP Address, you can look it up at System → System info.
Now enter it as shown on screenshot and connect to the Raspberry Pi.
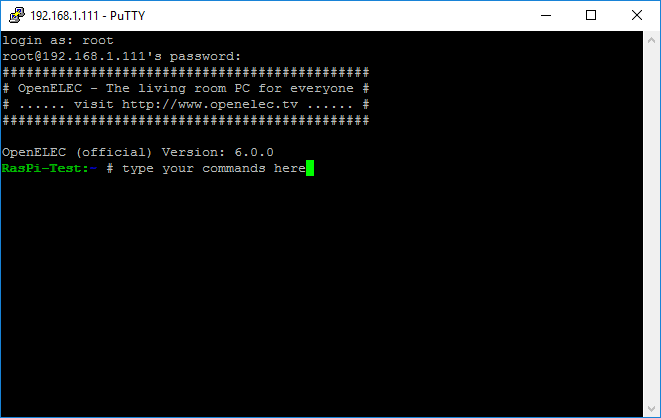
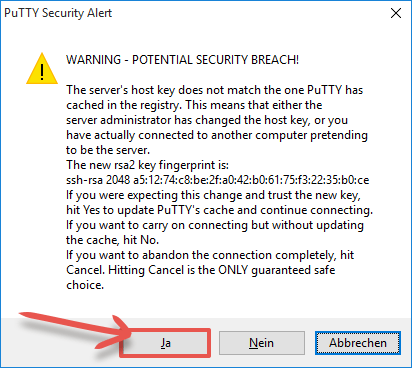
At first connection you’ll have to confirm a safety message with “Yes”.
Now you can login with username “root” and password “openelec“.
Notice: You won’t see any input when entering the password. Just keep typing it correctly and confirm with enter key.

If everything worked, you should be logged in and see a Input prompt. You can start to input commands now. 😉
You now established a SSH connection to your Raspberry Pi successfully.
In this mode you’re pretty much god, because you have full control of your system.


