
Do you want to get the best media center system for your Pi 2? If so, you’re in the right place!
Media center system Kodi (formerly XBMC) was good fun on Raspberry Pi 1 – it was incredible how much was possible with the “weak” Pi1. However, there were some problems like the slow-responding menus and heavy lags when browsing your movie collection. Thanks to the Quad-Core processor in the Pi 2, lagging is now a thing of the past.
The new Pi 2 has enough power to run everything smoothly. Even Full-HD movies with DTS Soundtrack are no longer a problem for that little micro-PC.
In this tutorial I will show you how to install Kodi on your Raspberry Pi 2 in just a few simple steps. No special skills are required, just the passion for technology and building things is enough to see you through.
For the operating system, we are using OpenELEC. It’s the only OS exclusively optimized for the use as a media center. It mainly contains features and functions for media center purposes. All other unnecessary functions are removed – bringing about stability, better performance, and lowered error rate.
What accessories are needed?
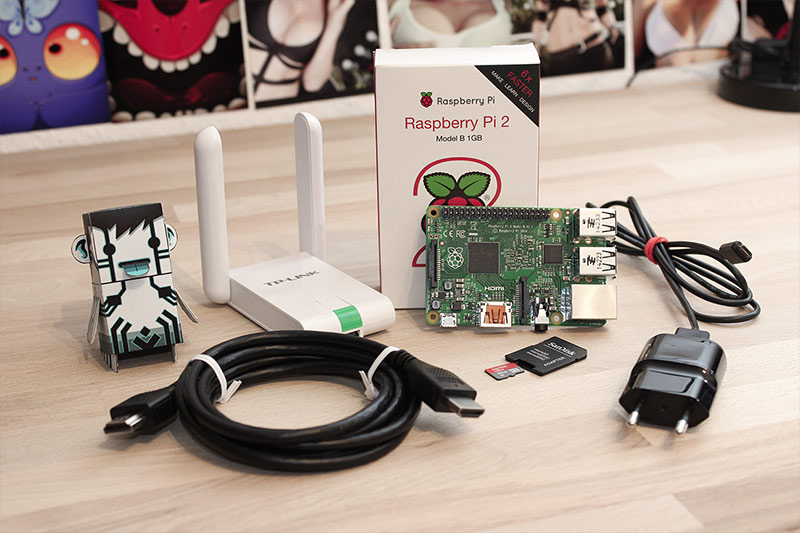
| Hardware | Recommendation |
|---|---|
| Raspberry Pi 2 Model B | US UK |
| Power Supply (5V, 2A) | US UK |
| Micro SD-card (at least 2GB) | US UK |
| Wifi-dongle or lan connection | US UK |
| High-Speed HDMI Cable | US UK |
| [optional] wireless keyboard or remote | US UK |
| [optional] Micro SD card reader | US UK |
| [optional] Raspberry Pi 2 Case | US UK |
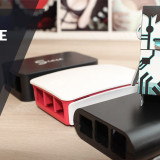
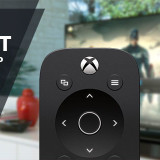
Since Raspberry Pi 2 supports CEC-feature, you are able to control Kodi with your TV remote too. Signals are transferred via the HDMI cable to the Pi 2, provided that your TV and HDMI cable support this feature.
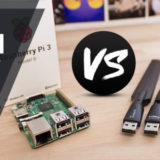
In case you want to use a separate remote control, which offers more features, I recommend the following article: The above-mentioned WiFi dongle offers solid performance at a low price. It can support HD- streaming with no problems. However, if you need more performance, I recommend reading the following article: “The best remote control for your Raspberry Pi”.
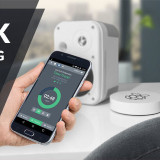
There are also some other smart options to control your Pi, such as this App for Android.
The above-mentioned WiFi dongle offers solid performance at a low price. It can support HD- streaming with no problems. However, if you need more performance, I recommend reading the following article:“The best Wifi-Adapter for your Raspberry Pi 2”.
For your Micro-SD card I suggest going for a Class 10, because slower cards can adversely affect boot time.
Additionally, you should pay attention in buying a good quality power supply. Cheap ones often don’t provide the indicated power, and could cause power fluctuations which leads to unstable operability. Save yourself the stress and troubleshooting, use a high quality power supply!
1. Download OpenELEC Image
You can download the required image for Raspberry Pi 2 on the official OpenELEC site:
Make sure, that you choose “Diskimage“.
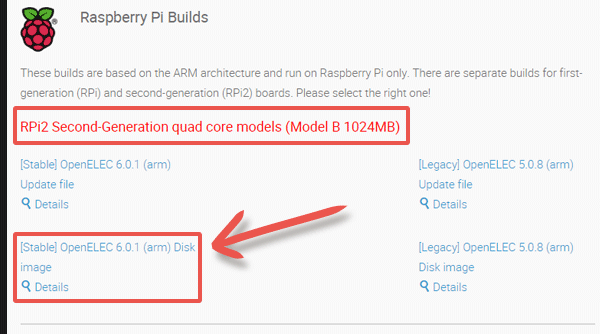
Important: Unzip the .gz file to get the .img file, which is required to flash.
2. Download Disk Image Tool
This little tool will be used to write the OpenELEC image to your SD-card.
It automatically creates 2 partitions on the SD-card – no formatting or preparation is required.
Download and install the tool:
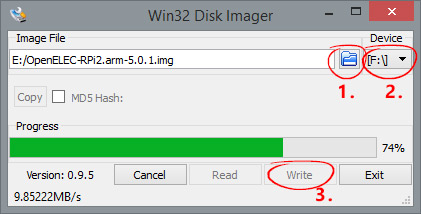
3. Write OpenELEC image on Micro-SD card
Start the program, choose the location of your OpenELEC image-file, set the device letter of your SD-card and press “Write”. Click “Yes”, and wait for the copying to be done.
4. Finalize installation
Now you have successfully written the media-center operating system OpenELEC into your SD-Card. You can then remove the SD-card from your pc and plug it into your Raspberry Pi.
On the first boot, Kodi will make the full size of the SD-card available, after that it reboots.
You will be asked to make certain settings, and Kodi is ready for action!
Addition:
After initial setup, it wasn’t possible to access my WiFi network. You would need to activate your WiFi setting beforehand, in order to access your network without any problems.
Here you can find the option:

So what can I do with it now?
…you’ll probably ask.
Here is a small overview about some of the possibilities:
- Connecting a USB-storage and playback all kinds of media in many different formats (video, music, image)
- Access a drive or a computer in your network and play media located on it
- Using Raspberry Pi 2 and OpenELEC to control a self -built ambilight – Go to Tutorial
- Watch people play games using Twitch.tv addon
- Watch new cinema trailers on YouTube (without annoying commercials!!)
- Access major erotic sites (Youporn & Co.) – Go to Tutorial
- Receive thousands of radio signals using numerous music addons
- And so on…
That’s just some examples. The possibilities are endless!
There is an incredibly big community behind the project Kodi (formerly XBMC) which constantly works to improve the software and keep it up-to-date.
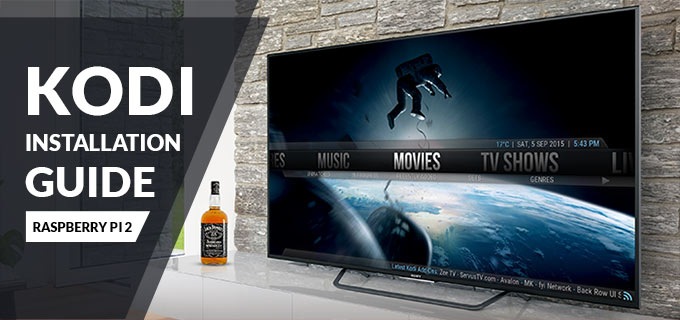
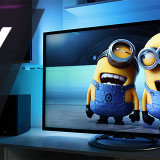
This installation is just the first step towards building a perfect media center system. If you want to present your movies and series collection as shown in the screenshot, then I recommend you to proceed with this tutorial:


1 Response
[…] step is to load the correct software onto the Raspberry. I used a very simple instruction found here. After the installation of Kodi the software for controlling the LEDs (Hyperion) can be installed. […]